Arduino Best Practices
Getting started with Arduino is exciting, and with a few best practices, you can make your projects more enjoyable and efficient! Here are some beginner-friendly tips to help you on your Thimble.io journey.
Introduction
Whether you're a complete beginner or have some programming experience, mastering a few key principles will make your journey more enjoyable and your projects more successful. In this article, we'll explore essential best practices tailored for beginners, focusing on simplicity and practicality. Let's dive in!
Best Practices | Hardware
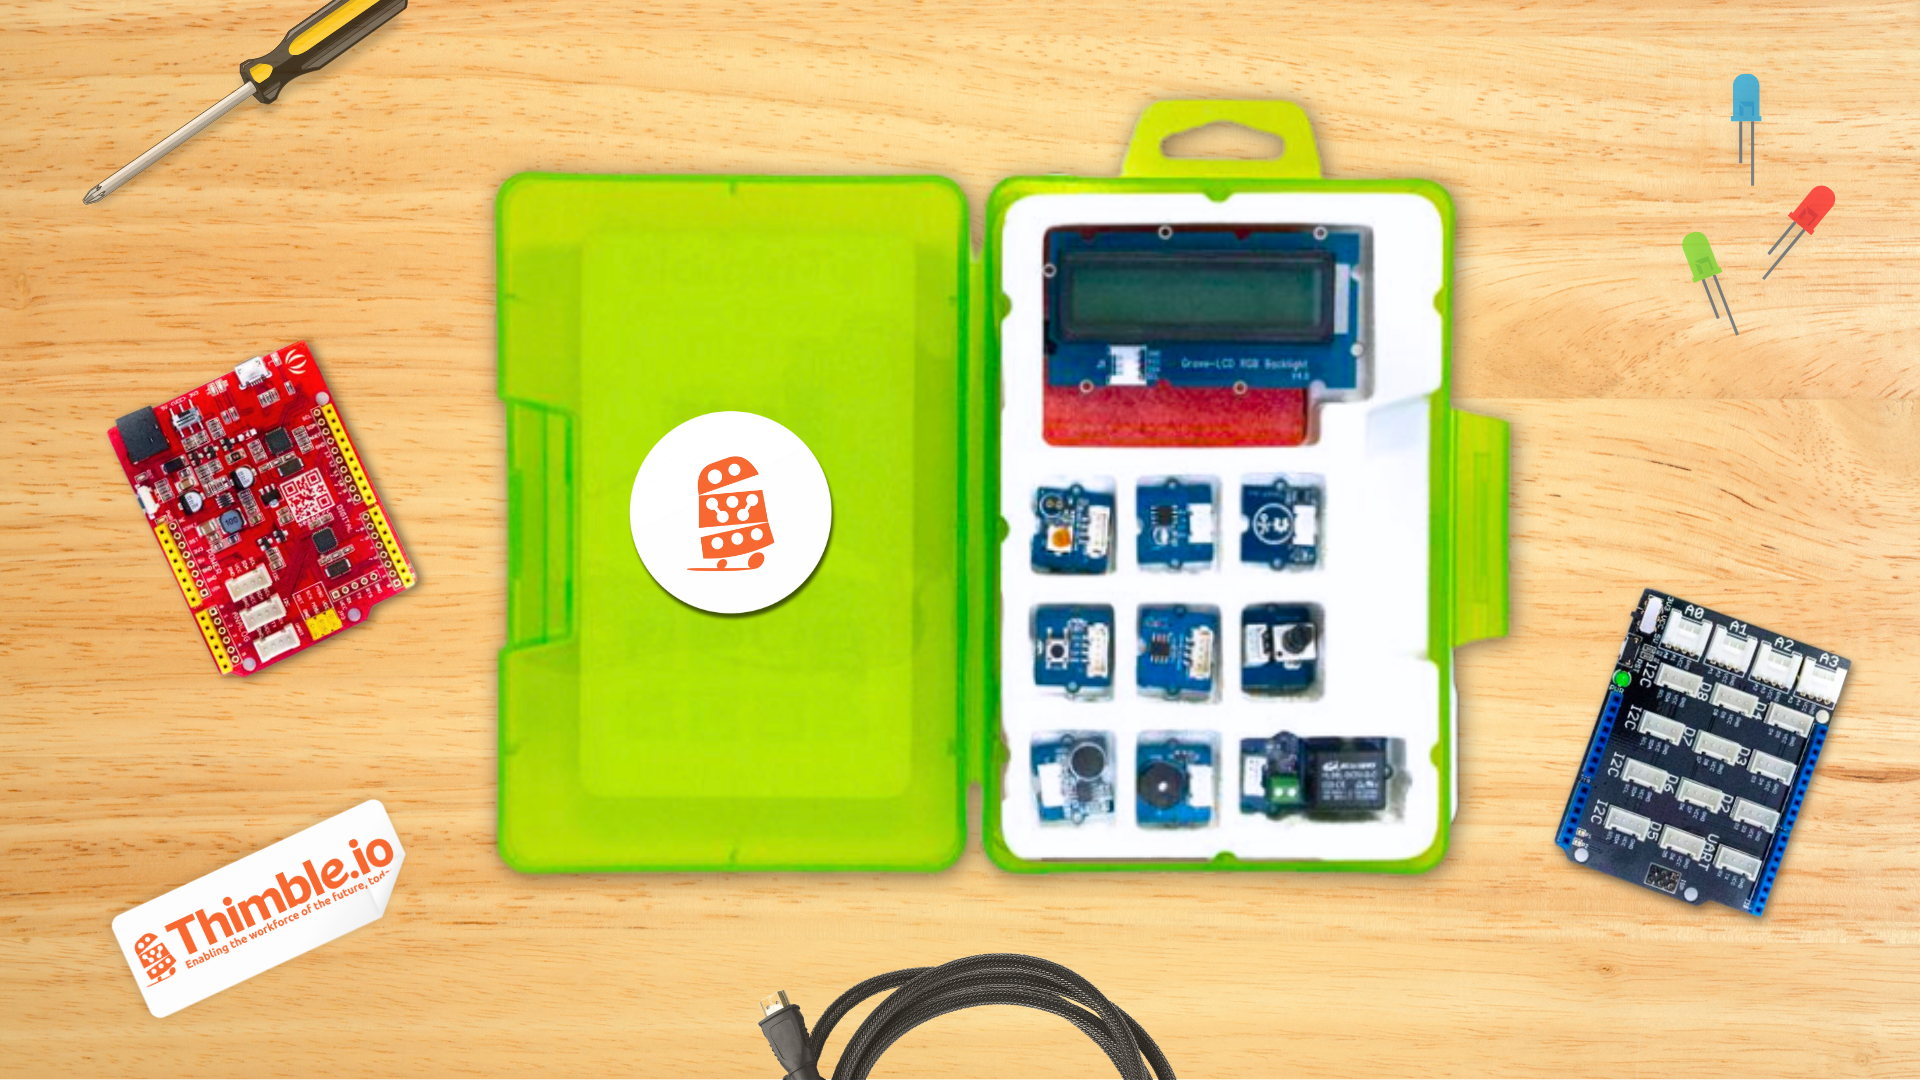
Hardware includes the kit you received from Thimble.io! Depending on the kit you purchased, the components will vary, but some general best practices apply!
1. Check Your Connection
It sounds simple, but it's important to make sure your Arduino is plugged in! It's also important to ensure that cables are connected to the correct port/socket on the Base Shield.
2. Component Handling
When assembling the Arduino and Base Shield, avoid any excessive pressure or bending the pins on the Base Shield. Instead, to connect the components, focus on a gentle rocking motion until the pieces are fully connected. For other components, it's always best to also handle with care!
3. Stay Organized
Your Thimble.io hardware kit is composed of a variety of small components. We recommend placing components back into the accompanying case after each session. Alternatively, we've had some instructors pre-assemble small baggies of the components required for their specific lessons! For cables, we also recommend holding on to those small rubber bands to wrap them back up between project sessions.
Best Practices | Software
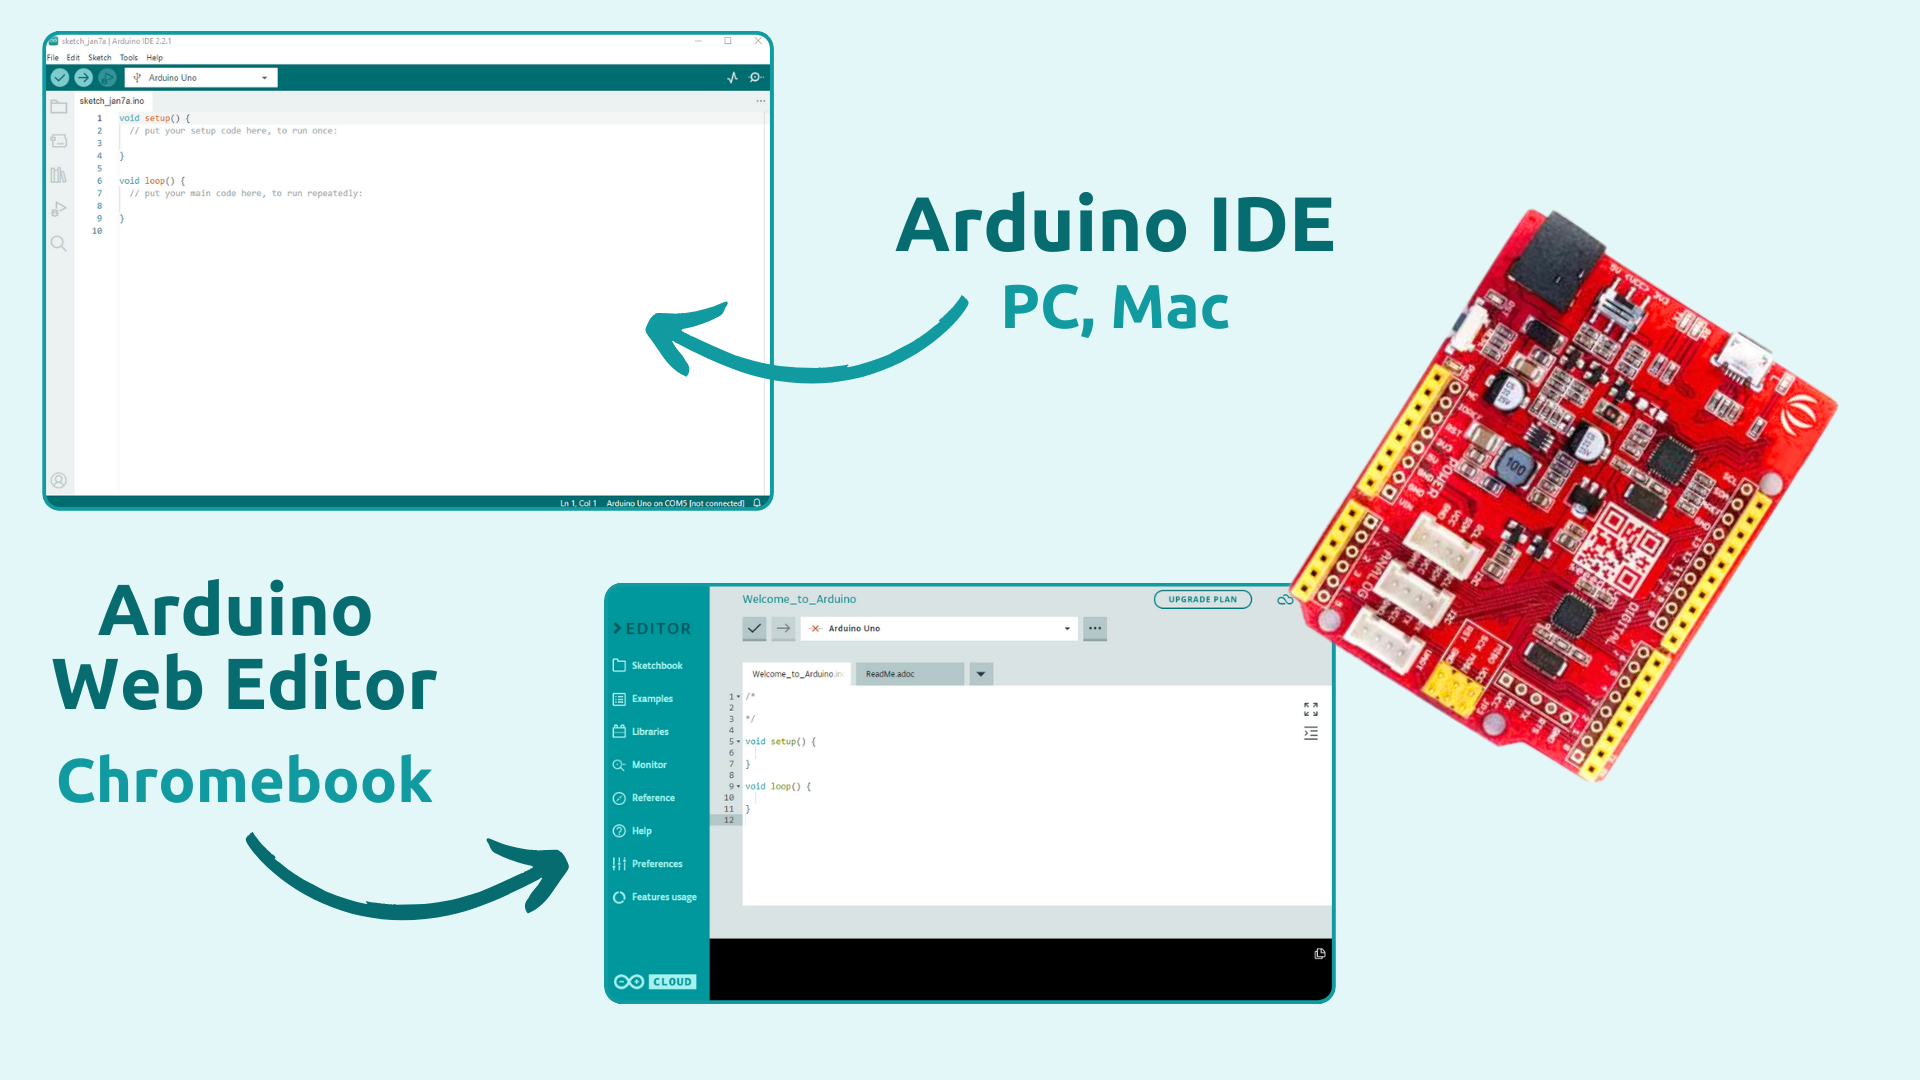
Software refers to the programs you'll utilize to code the Arduino. For Windows and MacOS users, this is the Arduino IDE, and for Chromebook users, this is the Arduino Web Editor.
1. Delete the Default Code
When you open a new Sketch in the Arduino IDE or Arduino Web Editor, there will always be some default code in the Editor area. Before pasting any code into the Editor, go ahead and delete it! Leaving it there can lead to some messy code that plain and simple, will not run!
2. Set Up Your Board & Port
When you plug in your Arduino via the provided USB cable, you'll need to set it up in the Arduino IDE or Arduino Web Editor. Plug and unplug the USB to see which port is occupied by the Arduino. Also, you received an ARDUINO UNO, so be sure to select the correct board from the list!
3. Verify Your Code
When uploading code to the Arduino using the Arduino software, the code undergoes a check as part of the process. The IDE provides two buttons for this purpose – the "Compile" and "Upload" buttons. In our projects, we recommend clicking the "Upload" button for simplicity. However, if you prefer to check and compile the code without immediately uploading it, you can achieve this by clicking the button to the left of the "Upload" button, known as the "Check & Compile" button.
4. Saving Your Projects
Saving your work is always a best practice, but for the Arduino programming there are a few specific tips! When you name a file, you cannot utilize spaces. For example "Traffic Light.ino" would not save properly, but "Traffic_Light.ino" would save perfectly! Additionally, Arduino files actually save as folders, so don't be alarmed if you notice one is created on your behalf!
❔ Need some additional help or training? Contact our Customer Success team!


